How do I plan a Product Photography Shoot?
An in depth guide to save you time and money

For over 25 years, I've worked with ambitious startups to global names like L'Oréal—and I've learned exactly what it takes to make a brand shine through photography.
Whether you're launching your first product line or giving your brand a visual refresh, I'll help you navigate the process from start to finish. As a leading product photographer in Brighton, Sussex, I know that every project is different, which is why the more you share about your vision, the better I can craft a quote that fits your needs.
I've created this guide to cover the essentials, help you get started, and maybe inspire a few fresh ideas along the way. And if you're new to product photography, don't worry—walking you through your first shoot is all part of what I do.
1. Define your brands audience

Hopefully one of the first things you established was your brand's core identity — now it needs translation into imagery.
Before briefing a photographer or approving a single shot, you must start by articulating who you're speaking to: Are your audience luxury seekers craving exclusivity, practical minimalists valuing function, or vibrant creatives chasing bold expression?
Their position in your market, whether premium, accessible, or niche dictates every visual choice that follows. Without this clarity, you risk receiving technically perfect photos that feel generic or misaligned, forcing costly reshoots or, worse, confusing your market.


2. Establish the Creative Direction and style for the shoot


Create a simple page with examples of images that you feel fit your brand vision and those that don't.
Bright, saturated palettes communicate playfulness and innovation.
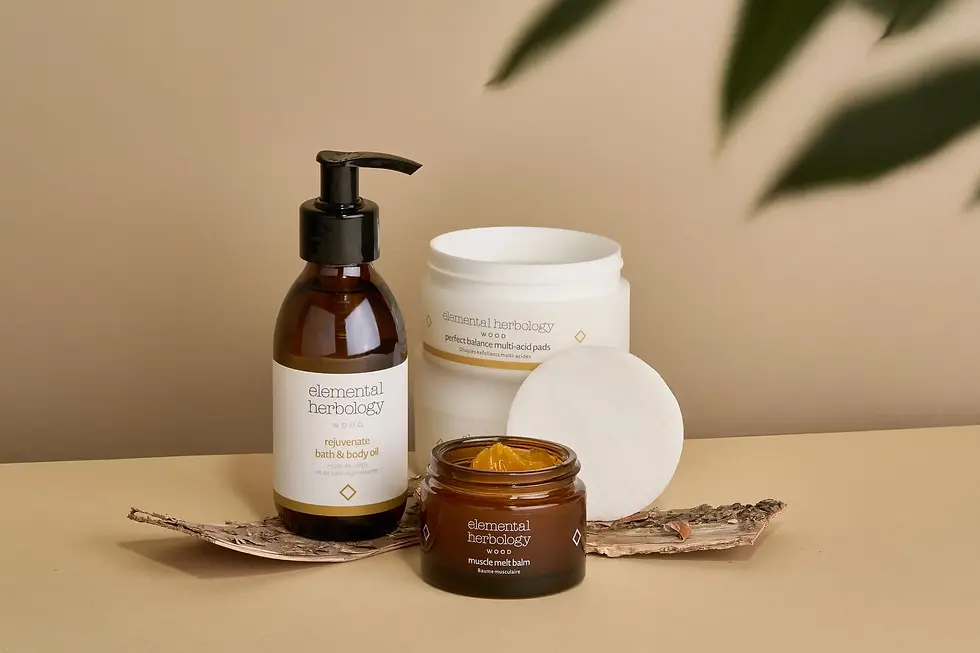
Muted neutrals suggest timelessness and sophistication.
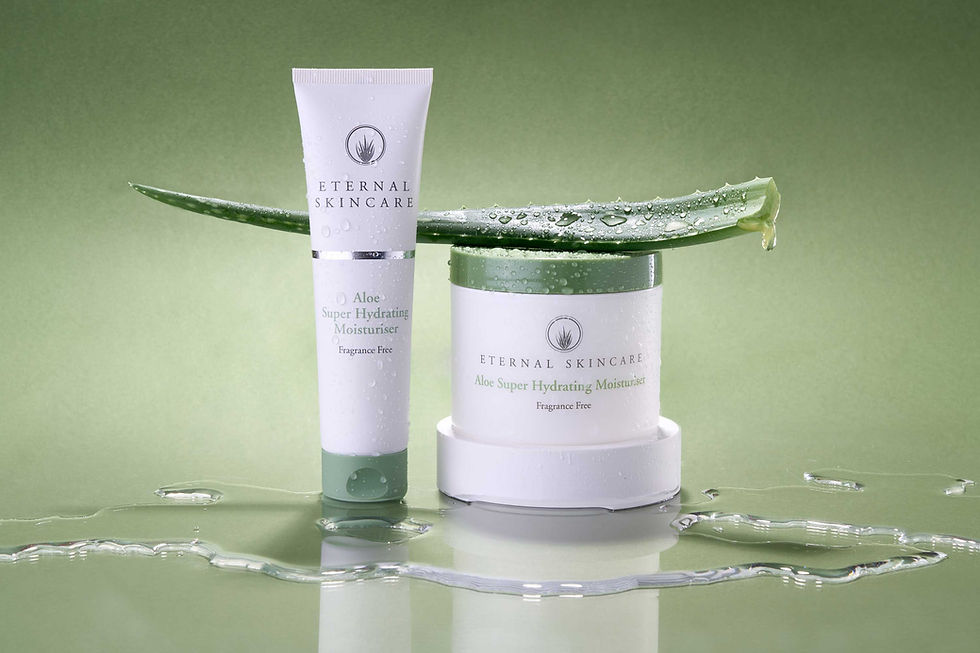
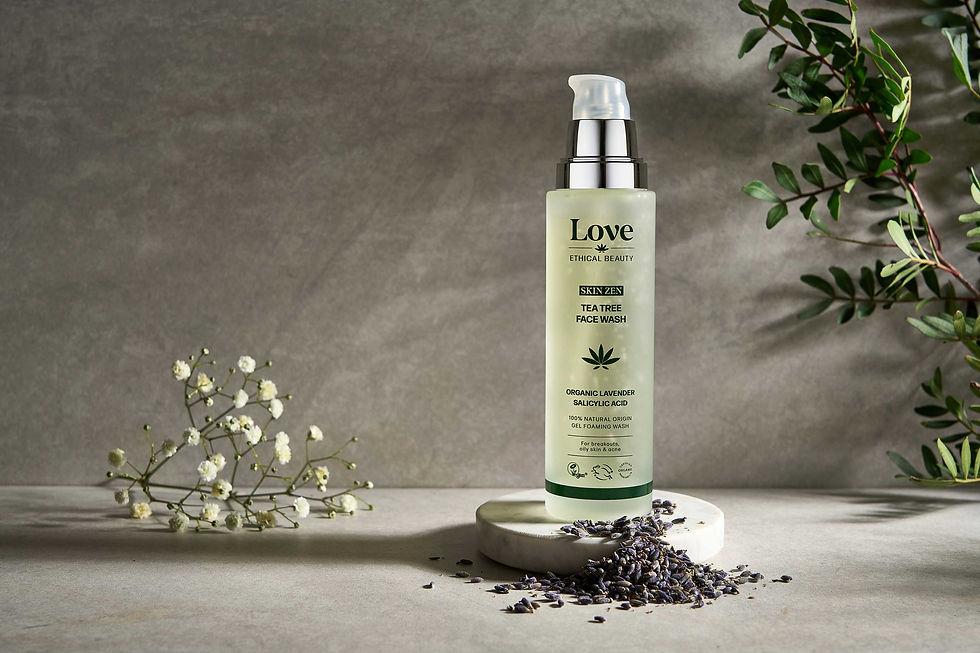
Soft, diffused lighting flatters natural or organic products.
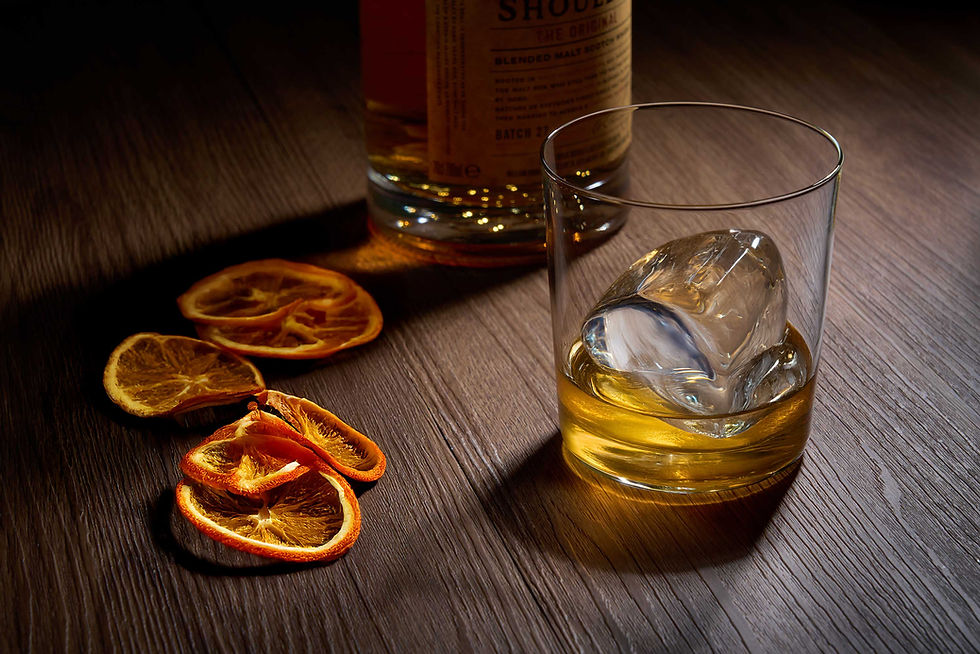
Dramatic shadows elevate tech or artisanal goods.
Earth tones ground sustainable or heritage brands.
Stark contrast suits futuristic or editorial positioning.
Does your brand already have an established style?
Visual references are invaluable for communicating style preferences. Creating a mood board on platforms like Pinterest allows you to collect inspiration and share a cohesive vision with your photographer.
-
Create a Mood Board & References: Examples of images you like (and dislike) to establish the desired vibe.
-
Lighting: Note if you need "Soft/Diffused" or "Hard/Dramatic" light for that specific vibe.
-
Photography Style: Decide if you need clean e-commerce (white background), creative flat lays, or environmental lifestyle shots.
-
Color Palette & Tone: Specify your preferred color scheme (warm/cool tones, muted/vibrant, monochromatic/complementary colors) to ensure the final images align with your brand aesthetic.
-
Brand Guidelines: Information on brand colours, target audience, and any specific "dos and don'ts" regarding composition.
TIP
Don't be afraid to share what you don't like!
Showing the photographer examples of styles
to avoid is just as helpful as showing what
you love - it ensures you’re both on the
same page from the start.

Define Image Use: Specify where photos will live (e.g., website banners require landscape, while Instagram stories need portrait 9:16)
-
Website Banners & Hero Sections: These typically require landscape orientation to span the width of a desktop screen and provide "negative space" to overlay brand messaging or call-to-action buttons.
-
Instagram & TikTok Stories: Content must be captured in a 9:16 vertical (portrait) aspect ratio to fill the mobile screen entirely, as horizontal images in these spaces often appear small or have unappealing borders.
-
Instagram Feed & Facebook Posts: A 1:1 square or 4:5 vertical format is ideal here to maintain consistency in the grid and maximize visibility as users scroll.
-
E-commerce Marketplaces: Platforms like Amazon and Google Shopping mandate clean, white-background shots where the product occupies at least 85% of the frame.
TIP
ALWAYS MAKE SURE TO ASK THE PHOTOGRAPHER
TO LEAVE PLENTY OF BACKGROUND SPACE AROUND
YOUR PRODUCT SO YOU CAN INSERT TEXT AT A LATER DATE.


Do you need transparent backgrounds for your "core" product images?
Some PR companies like to use product images with transparent backgrounds. This is essential for "punching out" a subject so it can be placed seamlessly over different backgrounds, such as lifestyle scenes, gradients, or other images, without a clunky white box around it.
This is useful if you are sending images to magazines so they can to create a "best of" page.
4. Create a list of images


The Core "White Background" Shots
These are your essential "clean" images for Amazon, Shopify, and Google Shopping.

Hero Shot:
Straight-on, eye-level photo on a pure white background.
3/4 Angle:
Highlighting both the front and side to show depth.
Back/Reverse View:
Showing technical details, ports, or ingredient labels.
Detail Macro:
Extreme close-up of texture, stitching, or specific features.
Group shots:
Range of products grouped together, perhaps presented as a gift.
Identify and list every image you’ll need to capture for a seamless rollout across all social platforms, your main site, and PR kits.


The Marketing & Lifestyle Shots
These focus on storytelling and are formatted for high-engagement platforms.
Website Hero Banner:
Wide, contextual shot with "negative space" on one side for text. (16:9 Landscape).
Product-in-Use:
A "lifestyle" shot showing the product being used by a person or in its intended environment. (4:5 Vertical).
Social Story:
Fast-paced, vertical content intended to fill a mobile screen. (9:16 Portrait).
Flat Lay:
Overhead shot of the product arranged with relevant props. (1:1 Square or 4:5 Vertical).
5. Props and Ingredients
Props and ingredients play a crucial role in bringing a product shoot to life. Carefully chosen props help set the mood, tell a story, and highlight the product’s purpose or lifestyle appeal, while fresh, well styled ingredients add authenticity and visual interest. Together, they create context, enhance texture and colour, and guide the viewer’s eye toward the product, resulting in images that feel intentional, cohesive, and engaging.
It's always a good idea to keep props to a minimum in each shot, using them only to accent and support the composition. Props should enhance the story and complement the product, never distracting from it or competing for attention. The main focus should always remain on the product you are trying to sell, with every element in the frame working to highlight it.
I have a selection of props and backgrounds available in my studio, including drinking glasses, bathroom accessories, mirrors, test tubes, and more, which can be used for your shoot. Before arranging or planning props, it’s a good idea to speak with me first so we can confirm I have enough in stock to suit your ideas and ensure everything works seamlessly on the day.


6. Logistics and business terms
Timeline:
Define a schedule to manage expectations and ensure on-time delivery.
-
Product Handling: Instructions for shipping items to the studio and whether they should be returned or disposed of after the shoot.
-
Shoot & First Review: A milestone for approving "hero" shots and first features before full production begins.
-
Draft Delivery: Initial proofs for client selection, typically delivered within 1–7 days depending on the project type.
-
Final Delivery: The hard deadline for high-resolution, retouched files.


Retouching Scope:
Distinguish between standard and intensive editing to prevent scope creep.
- Basic Retouching: Simple fixes like blemish removal, cropping, exposure, and color correction. As a basic service, included in my price, I always retouch every image for marks and dust as well as do colour correction. Every price comes with one re-shoot round for each image.
- Advanced Manipulation: Detailed work such as background replacement, body contouring, complex color grading, or removing large objects.
The Quick Checklist:
Everything to Prepare and Tell Your Photographer Before a Product Shoot
-
Create a list of shots including cut out on white and lifestyle.
-
Define specific details that must be highlighted on each product such as textures, unique fastenings or ingredients.
-
Create a Mood Board & References: Examples of images you like (and dislike) to establish the desired "vibe," lighting, and atmosphere.
-
Lighting: Note if you need "Soft/Diffused" or "Hard/Dramatic" light for that specific vibe.
-
If you have them, supply your Brand Guidelines: Information on brand colours, target audience, and any specific "dos and don'ts" regarding composition.
-
Props & Backgrounds: Who is responsible for sourcing props and if specific background textures or colors are required. List specific items needed (e.g., "Wooden tray," "Fresh coffee beans").
-
Intended Use: Where the images will live (e.g., Amazon, Instagram, print catalogs, or website banners), which dictates composition and lighting.
-
File Requirements: Specific aspect ratios (e.g., 1:1, 4:5), file formats (JPEG, PNG, PSD), and resolution needs.
-
Naming Conventions: Any specific SKU-based filing patterns you need for your internal system. Shot ID: Assign a unique number to each image (e.g., #001).
-
Timeline: The firm deadline for final delivery and any intermediate milestones for image approval.
-
Retouching Scope: Whether the budget covers basic cleaning or advanced manipulation, and the number of allowed revision rounds. As a basic service, included in my price, I always retouch every image for marks and dust as well as do colour correction. Every price comes with one re-shoot round for each image.
-
Product Handling: Instructions for shipping items to the studio and whether they should be returned or disposed of after the shoot.
Don't worry if the process feels complex; I’m here to lead the way and can help you with creative direction to the final shutter click. Whether in-studio or on-site, I provide end-to-end guidance backed by years of experience with both startups and multinational corporations to deliver exceptional brand imagery.
